Corset Patterns, How To Make a Corset |
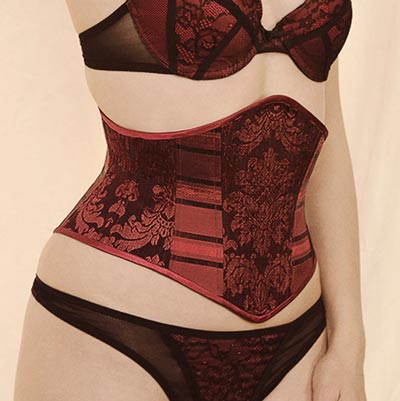
If you’ve been reading regularly you’ll know I’ve had a digital mannequin made and had my CAD designer make me a corset pattern on it. The mockup looked like this – The fit was good but not ‘corseted’ enough. So last week I actually... 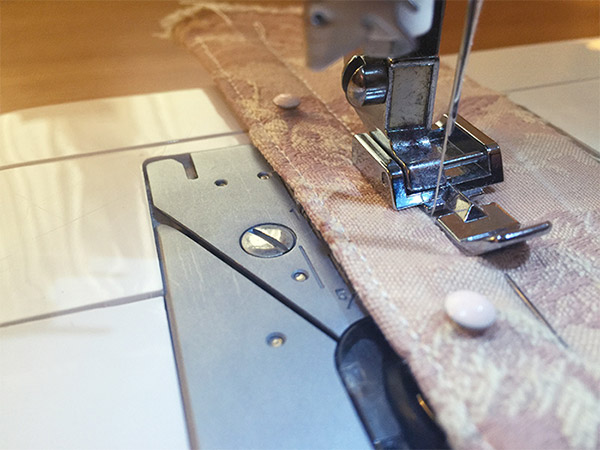
Corset Patterns, Corset Training, How To Make a Corset, My Corset Making
Yes I got a little bit further today with my experimental single layer corset training corset. Had a bit of fun with enamel paint too! So today I found time to insert the busk. I haven’t worked out how to make a corset single layer at the busk and lacing (front... 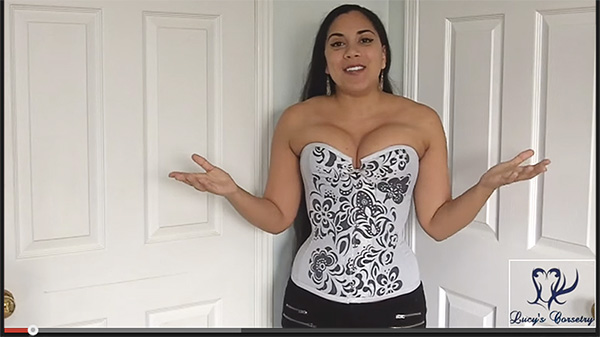
Corset Patterns, Corset Training, Free Corset Patterns, My Corset Making
Lucy From Lucy’s Corsetry I’ve always been a big fan of Lucy’s Corsetry website and YouTube reviews of corset training corsets, so I was extremely excited to hear she was going to review my Express Corset Making Video Course for her YouTube channel! It’s still... 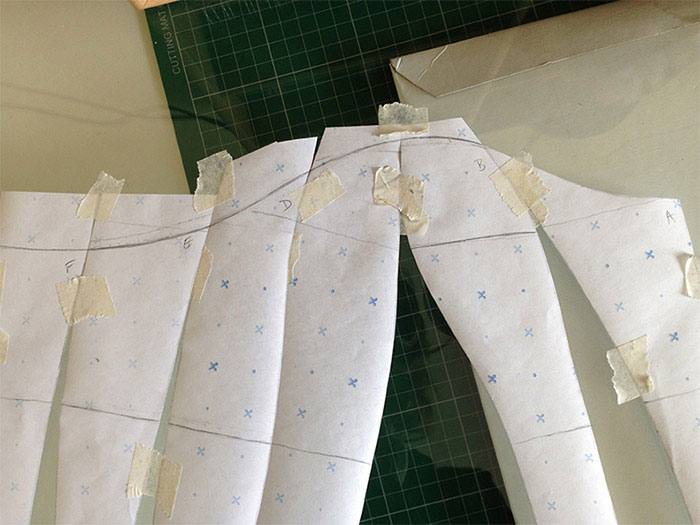
Corset Patterns, How To Make a Corset, My Corset Making
Yesterday I thought I’d show you all how I fix up my edges, that is, how I draw the top and bottom edges of a corset pattern – via a video blog. (So if you didn’t catch that check it out in my previous blog post below.) As promised here are the...