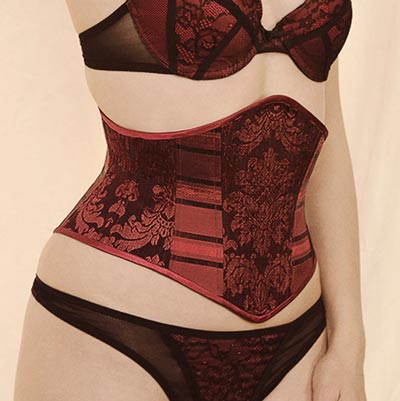
Corset Patterns, Free Corset Patterns, How To Make Corsets
Have You Grabbed Your Easy & FREE Corset Pattern?Fancy a Cute Little Corset Belt? Get my Easy & FREE Reversible Corset Sewing Pattern. No charge ? DOWNLOAD YOUR COPY HERE Fancy Making a Cute Little Corset? Try My Free & Easy Corset Pattern For A Fun Make!... 
Corset Patterns, Corsetry & Sewing Diary, How To Make Corsets, My Corset Making
Making The Most Beautiful Panties In All The Land I’ve had some seriously excited emails and comments from you about the prospect of underwear sewing patterns! I will get round to reading every single email but so far a request for thongs, several requests for... 
Corset Patterns, Corsetry & Sewing Diary, How To Make Corsets, My Corset Making |
A Panty Sewing Trick That Gets You ✨Pro Results In my last post I went undie shopping and pointed out the hefty price tag that comes with our beautiful intimates *sigh* But with so little effort involved in sewing our own underwear – especially panties! I... 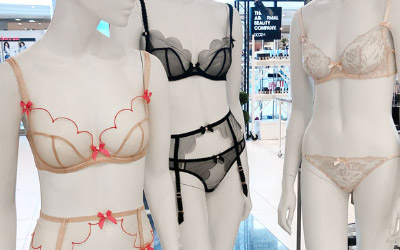
Corset Patterns, Corsetry & Sewing Diary, How To Make Corsets, My Corset Making |
Moving Into Underwear… …Why This Is Going To Be Amazing The votes are in from my email poll! (Thank you to all who gave me their two cents) As a result I’m looking toward expanding my range into Underwear Patterns (and potentially beyond) as 77% of... Corset Patterns, Free Corset Patterns, How To Make Corsets
Have You Grabbed Your Easy & FREE Corset Pattern?Fancy a Cute Little Corset Belt? Get my Easy & FREE Reversible Corset Sewing Pattern. No charge ? DOWNLOAD YOUR COPY HERE Fancy Making a Cute Little Corset? Try My Free & Easy Corset Pattern For A Fun Make... 
Corset Patterns, Corsetry & Sewing Diary, How To Make Corsets, My Corset Making
Yes I’m making a coat, it’s been a long ol’ time since I made something non corseted but it’s cold here in unsunny England. It’s not going to be just any coat either! I’m also making final tweaks to my personal corset pattern ready...